Slab age: New concrete must cure at least 28 days before grinding. Green concrete (less than 7 days old) is too soft and will clog diamond tools.
Surface hardness: Test with a Mohs hardness pick or scratch test. Concrete hardness ranges from Mohs 3 (soft, new or low-PSI mix) to Mohs 7+ (hard, high-PSI or aged concrete). This determines your bond selection.
Existing coatings: Identify any paint, epoxy, sealer, adhesive, or other coatings on the surface. Note the type and approximate thickness.
Stains and contamination: Mark oil stains, chemical spills, rust, and other contamination. Determine depth and whether grinding alone will remove them.
Cracks and joints: Document all cracks, control joints, expansion joints, and spalled areas. These may need patching before grinding or special handling during the process.
Flatness deviations: Use a straightedge or laser level to identify high spots, low spots, and waviness. This tells you how much material you need to remove.
Moisture content: Test with a moisture meter or calcium chloride test. High moisture can affect coating adhesion and may indicate underlying slab issues.
项目规格要求
与客户或项目规格书确认:
Target finish: Is this a grind-and-seal, a matte polish (400 grit), a semi-polish (800 grit), or a high-gloss polish (1500-3000+ grit)?
Exposure level: Cream finish (very light grind, no aggregate exposed), salt-and-pepper (fine aggregate exposed), or full aggregate exposure?
Coating type: If applying epoxy, polyurethane, or another coating, what CSP (Concrete Surface Profile) is required? Most epoxies need CSP 3-5 (Nedis Floor, 2026).
Flatness requirements: What F-number or tolerance is specified?
施工规划
根据您的评估,规划:
Equipment needed: What size grinder? Planetary or rotary? How many machines?
Tooling requirements: What grit sequence? What bond hardness for the concrete?
Time estimate: Calculate production rates. Coarse grinding typically covers 200-500 sq ft/hour per machine, while polishing can cover 500-1,000+ sq ft/hour.
Dust control strategy: Wet grind or dry grind with HEPA vacuum?
Logistics: Power supply, water source, waste disposal, access, and scheduling.
Clear the area completely: Remove all furniture, equipment, boxes, and debris. The entire floor surface should be exposed and accessible.
Sweep thoroughly: Use a push broom or industrial sweeper to remove all loose dirt, dust, and debris.
Inspect for oil and grease stains: Walk the floor marking every oil stain, grease spot, and chemical residue. Note size, type, and severity.
Absorb fresh oil: For fresh oil spills, apply an absorbent (kitty litter, diatomaceous earth, or commercial oil absorber) and let it sit for 24-48 hours to draw out as much oil as possible.
Apply degreaser: Apply a heavy-duty concrete degreaser or alkaline cleaner to all stained areas and the entire floor if contamination is widespread. Let it dwell according to the manufacturer's instructions—usually 15-30 minutes.
Mechanical scrubbing: Use a floor buffer with a scrubbing pad or stiff bristle brush to agitate the degreaser and work it into the concrete pores. For heavy contamination, use a rotary scrubber with water.
Rinse thoroughly: Pressure wash or wet vacuum the floor to remove all degreaser and dissolved contaminants. Change the water frequently until it runs clear.
Dry completely: Allow the floor to dry thoroughly—at least 12-24 hours depending on temperature and humidity. Use fans or dehumidifiers to speed drying.
Re-inspect: Once dry, check for any remaining stains. Repeat the cleaning process on stubborn spots if needed.
Mask sensitive areas: Tape off walls, baseboards, drains, and any areas that should not be ground or that need protection from dust or slurry.
Handheld angle grinders: For edges, corners, and small touch-up areas. Use 7-9 inch models with diamond cup wheels.
Walk-behind single-disc grinders (18-22 inch): Best for residential garages, small retail spaces, and tight quarters. Good for coating removal and light grinding.
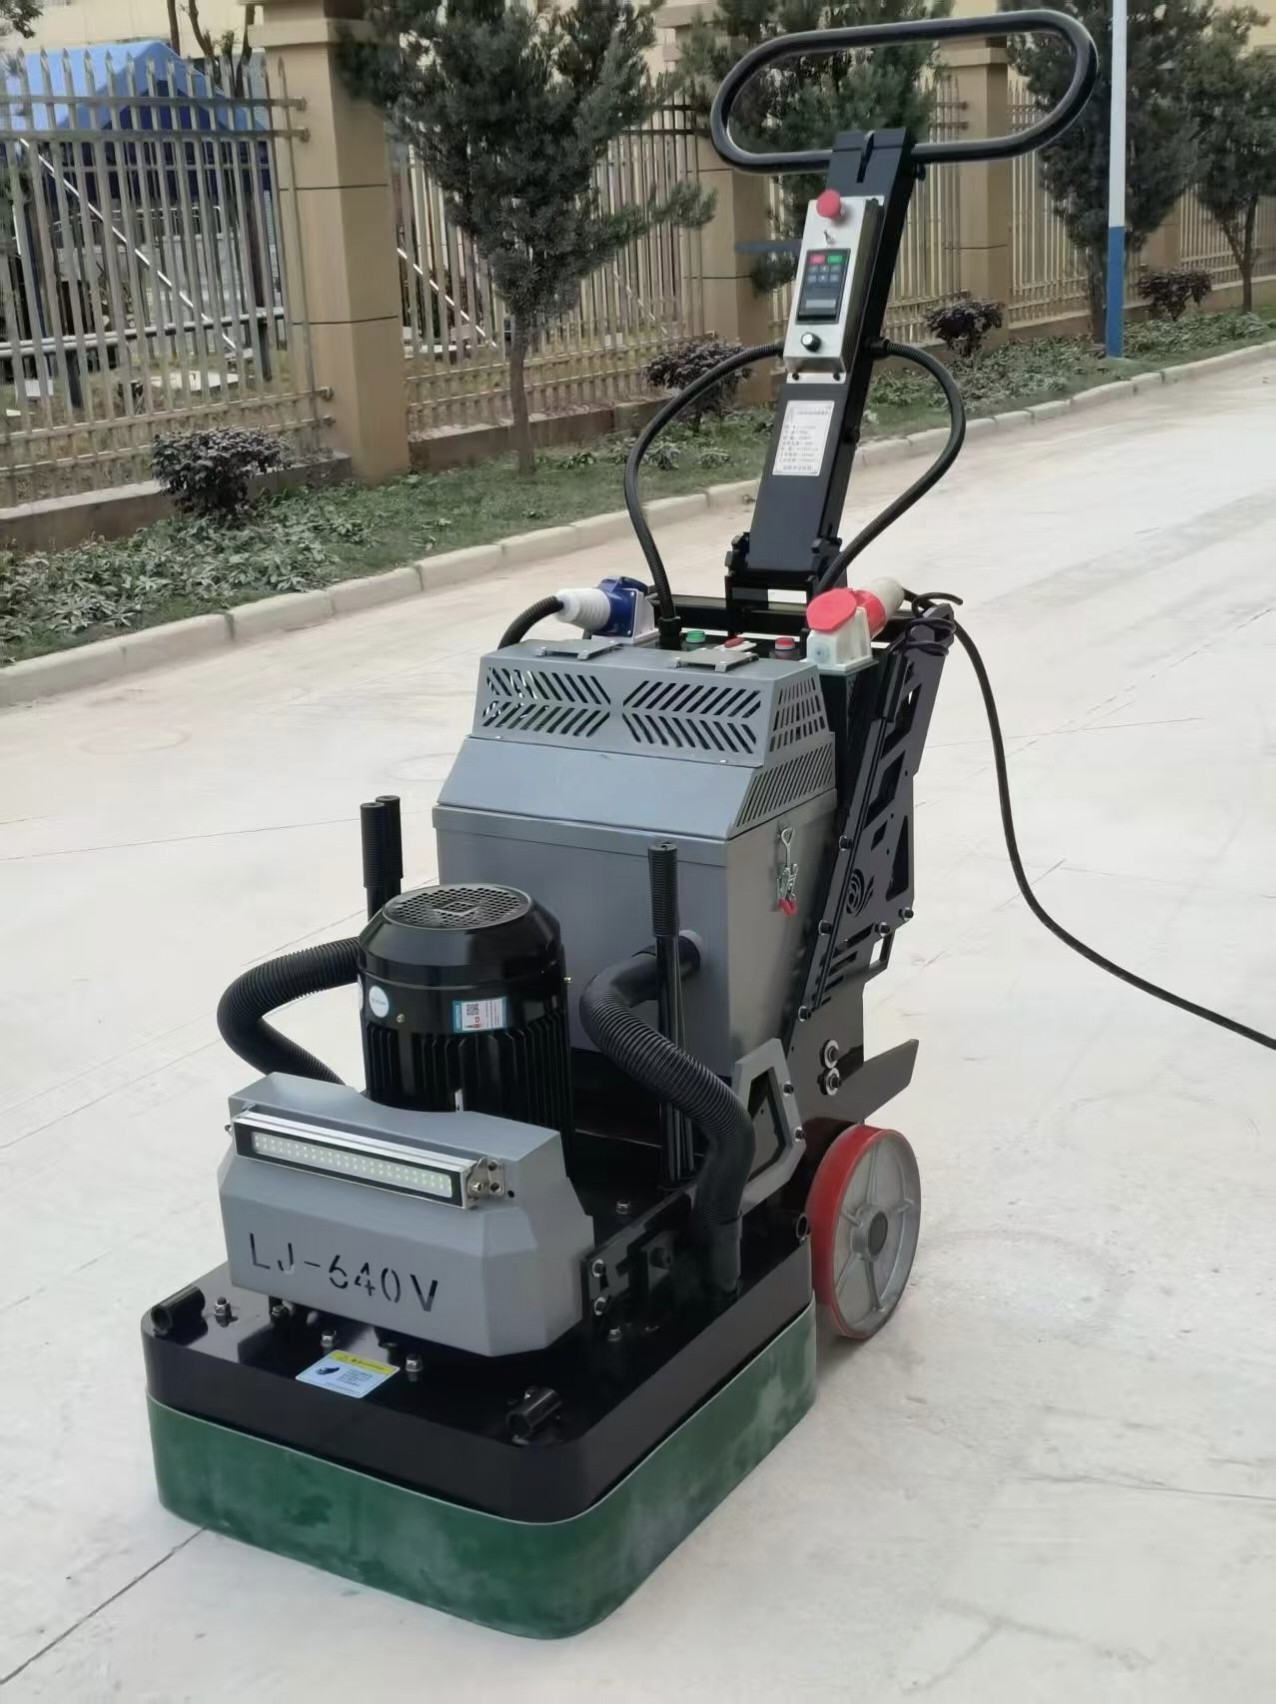
Planetary grinders (20-30 inch): The workhorse of commercial and industrial concrete grinding. Three or four counter-rotating heads produce a flat, swirl-free finish. Ideal for medium to large projects.
Ride-on grinders (32+ inch): For large industrial floors, warehouses, and distribution centers where speed is critical.
Opens up the concrete surface and exposes aggregate (if specified)
Creates the initial scratch pattern that subsequent grits will refine
Removes surface stains and light contamination
粗研磨工艺流程
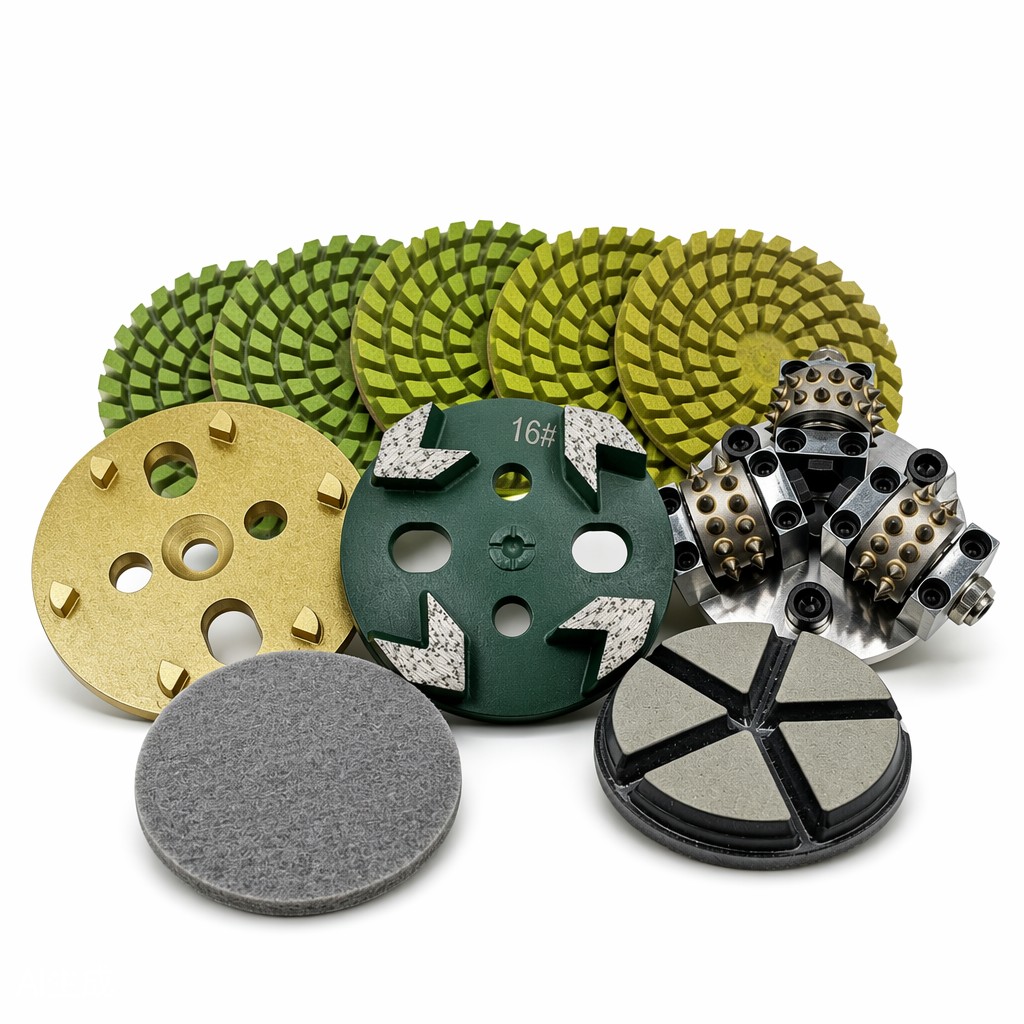
Start with the appropriate grit: Begin with 16 or 30 grit metal bond segments for heavy removal, or 50 grit for lighter work. The starting grit depends on how much material you need to remove and the condition of the floor.
Work in sections: Divide the floor into manageable sections (usually 200-500 sq ft). Work systematically from one end of the space to the other.
First pass: Make your first pass in one direction (e.g., north-south). Maintain a steady forward speed of 3-4 meters per minute maximum during coarse phases (Superfloor Australia). Going too fast leaves tool marks and inconsistent results.
Second pass: Make a second pass perpendicular to the first (e.g., east-west). This cross-hatching pattern ensures uniform coverage and helps eliminate directional patterns.
Overlap properly: Overlap each pass by 2-4 inches to prevent missed strips.
Check progress frequently: Stop periodically to inspect the surface. You should see a consistent scratch pattern across the entire section. If some areas are untouched, you may need more passes or the floor is uneven.
Edge work: Use an edge grinder or handheld grinder to grind right up to walls, columns, and obstacles. Match the grit and depth of the main floor grinding.
Clean between grits: After completing a grit stage, thoroughly clean the floor (sweep, vacuum, or wet vacuum) before moving to the next grit. This prevents leftover coarse grit particles from scratching the floor during finer stages.
速度与压力指引
保持适当的速度和压力对工具寿命和饰面质量都至关重要:
Forward speed: 3-4 meters per minute maximum for coarse grinding. Faster speeds reduce material removal per pass and can cause uneven results.
Machine weight: Use the machine's own weight—don't add excessive downward pressure. Most grinders are designed to work with their own weight providing adequate pressure.
Excessive pressure warning: Applying too much down pressure causes diamond segments to show burn marks, glazes over the diamond tips, and can damage the machine's gears and bearings.
Start with 80 grit metal bond: This is the first medium grit after coarse grinding. Make two passes in a cross-hatch pattern.
Inspect after each grit: After completing 80 grit, clean the floor thoroughly and inspect. The scratch pattern should be visibly finer than 30/50 grit, and all deep coarse scratches should be gone.
Progress to 100 grit: Same cross-hatch technique. The floor will start to feel noticeably smoother.
Finish with 120 grit: This is typically the final metal bond grit before moving to transition or resin bond tools.
Fill joints and cracks (if needed): After 100-120 grit is a good time to fill control joints and cracks with joint filler or epoxy patching compound. The filled areas will be ground flush in subsequent passes.
Opens up the concrete pores for optimal densifier penetration
Develops the initial sheen and reflection
细磨目数与磨具类型
细磨通常使用200目和400目的工具。这些可能是:
Hybrid/transition bonds: Semi-metal, semi-resin bonds that bridge the gap between metal and resin tooling
Resin bond pads: 200 and 400 grit resin pads for finer honing
Ceramic bond: Some systems use ceramic bonded tools for honing stages
细磨工艺流程
200 grit pass: After finishing 100-120 grit metal bond, switch to 200 grit transition or resin tools. Make two cross-hatch passes. The floor will start to develop a low sheen when dry.
Clean thoroughly: Between 200 and 400 grit, clean the floor very well. Any leftover coarse grit particles will cause deep scratches in the softer resin pads.
400 grit pass: Switch to 400 grit resin pads. Make two cross-hatch passes. At this point, the floor should have a noticeable matte sheen and reflect some light. The surface will feel very smooth to the touch.
Inspect for scratch patterns: After 400 grit, inspect the floor carefully under good lighting. Look for any remaining deep scratches, swirl marks, or uneven areas. If found, you may need to go back a grit or two and rework those areas.
为什么400目是固化剂的最佳节点
400目通常是施加混凝土致密剂的理想时机。原因如下:
The concrete pores are open enough for the densifier to penetrate deeply
You've removed all the coarse, deep scratches that would show through a polished finish
The surface is smooth enough that you can begin to evaluate uniformity
The densifier will have time to react and harden the surface before fine polishing
Hardens the surface: Increases surface hardness by 30-50%, reducing dusting and wear
Densifies the concrete: Fills pores and capillaries, making the surface less porous and more stain-resistant
Improves polishability: Denser concrete takes and holds a higher gloss finish
Reduces dusting: Eliminates the fine concrete dust that untreated floors generate
Enhances durability: Creates a harder surface that resists abrasion and impact
固化剂的种类
Type
Chemistry
Characteristics
Sodium Silicate
Na₂SiO₃
Traditional, economical, effective, high pH
Lithium Silicate
Li₂SiO₃
Penetrates deeper, faster reaction, less whitening, premium cost
Potassium Silicate
K₂SiO₃
Deep penetration, good for dense concrete, mid-range cost
Colloidal Silica
Nano-SiO₂
Very fine particles, deep penetration, fast curing, premium
施工工艺
Ensure the floor is clean and dry: The concrete must be clean of all grinding dust, dirt, and curing compounds. Damp but not wet is acceptable for some products—check the manufacturer's instructions.
Mix the densifier: Follow the manufacturer's mixing instructions. Some products are ready-to-use; others require dilution.
Apply evenly: Use a low-pressure sprayer, mop, or microfiber applicator to apply the densifier evenly across the entire floor. Don't let it pool or dry in spots.
Maintain wet contact time: The densifier needs to stay wet on the surface for 15-30 minutes (check product instructions) to penetrate properly. If it starts to dry in spots, apply more densifier or spread the wet material around with a broom or mop.
Remove excess: After the recommended contact time, remove any unabsorbed densifier by rinsing with clean water and wet vacuuming. Allowing densifier to dry on the surface can cause white residue (efflorescence) that's difficult to remove.
Allow cure time: Let the densifier cure according to the manufacturer's instructions—typically 4-24 hours, depending on the product and conditions. Some products require multiple coats.
Start with 800 grit resin pads: After densifier has cured and you've completed 400 grit honing, switch to 800 grit resin polishing pads. Make two cross-hatch passes. You'll see a dramatic increase in gloss compared to 400 grit.
Clean between grits: Always thoroughly clean the floor between polishing stages. Even tiny particles can cause scratches in the soft resin pads.
Progress to 1500 grit: Two more cross-hatch passes at 1500 grit. The floor will now have a clear, glossy reflection. You should be able to see overhead lights reflected clearly.
Finish with 3000 grit (if specified): For a mirror-gloss finish, do two passes at 3000 grit. This produces an extremely high gloss, almost glass-like appearance.
Burnish with a 3000+ grit pad: Some contractors do a final burnishing pass with a very high grit pad (3000-6000 grit) under high speed to maximize gloss.
获得最佳抛光效果的技巧
Keep pads clean: Periodically rinse or brush off polishing pads to remove accumulated slurry and dust. Clogged pads don't cut effectively and can cause uneven results.
Maintain consistent speed: Polishing should be done at a steady, moderate pace. Rushing leaves swirl marks; going too slow wastes time and wears pads unnecessarily.
Use proper machine speed: Most polishing is done at 1500-1800 RPM for planetary machines. Check the pad manufacturer's recommendations.
Work in sections: Complete one section from start to finish before moving to the next to maintain consistency.
Lighting matters: Good overhead lighting helps you see the scratch pattern and identify missed spots. If you can't see it, you can't fix it.